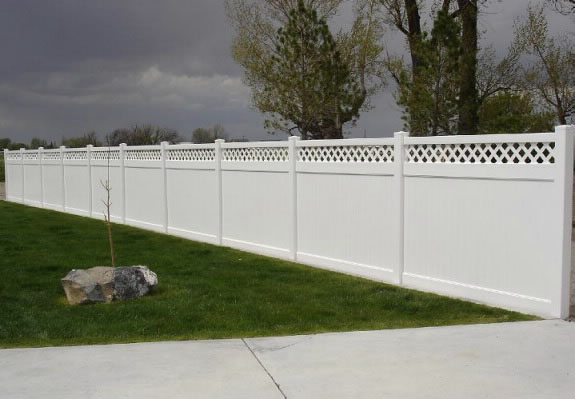
 When it comes to the old saying “Good fences make good neighbors,” only those who have properly maintained their fences can really say that. From choosing a durable fence material to general upkeep and maintenance, any fence can show wear and tear over time. While wood and chain link fences are classic choices, vinyl has become an increasingly popular option in recent years as it is durable, easy to clean, and requires little maintenance. Vinyl fences are also very attractive and come in a wide variety of colors. Some likely maintenance you will face with your vinyl fence repair is a hole. Following are the steps to fixing holes and cracks in your vinyl fence.
Step One: Clean the Fence
Prior to tackling any hole in your vinyl fence, be sure to properly clean the area. With a clean cloth and a simple and inexpensive water and dish soap mix, rub it over the area and then rinse and dry.
Step Two: Sanding
With a medium-grit piece of sandpaper, sand gently around the hole in the fence. You don’t want to do this too hard to really scratch the vinyl, just enough to remove any sharp edges around the hole or crack. Use the sandpaper 3 inches out from the area in need of repair.
Step Three: Expanding Foam
When it comes to filling the hole, expanding foam is an excellent choice. For holes that are larger than 1″, you’ll have to fill it. Fill the hole slowly with the foam and allow it to expand. The foam should overflow from the fence’s hole to ensure a full fill. Let it dry overnight.
Step Four: Remove Foam
After it has fully dried overnight, use a small handsaw to buzz the excess foam off the fence.
Step Five: Sand the Foam
Next, use some more of that medium-grit sandpaper to smooth out the foam and make sure it is flush with the fence’s surface. Then use the sandpaper to indent the foam slightly so it is slightly concave.
Step Six: Clean Again
Clean the fence again with a damp cloth to ensure it is clean of any dirt or debris.
Step Seven: Plastic Filler
Where the foam has the small indent, apply the plastic filler and smooth it out with the rest of the fence.
Step Eight: Sand and Paint
One last sanding of the plastic filler, apply a little paint that matches the rest of the fence, and you are done.


 Thursday, May 30th, 2019, 5:33 pm |
